|
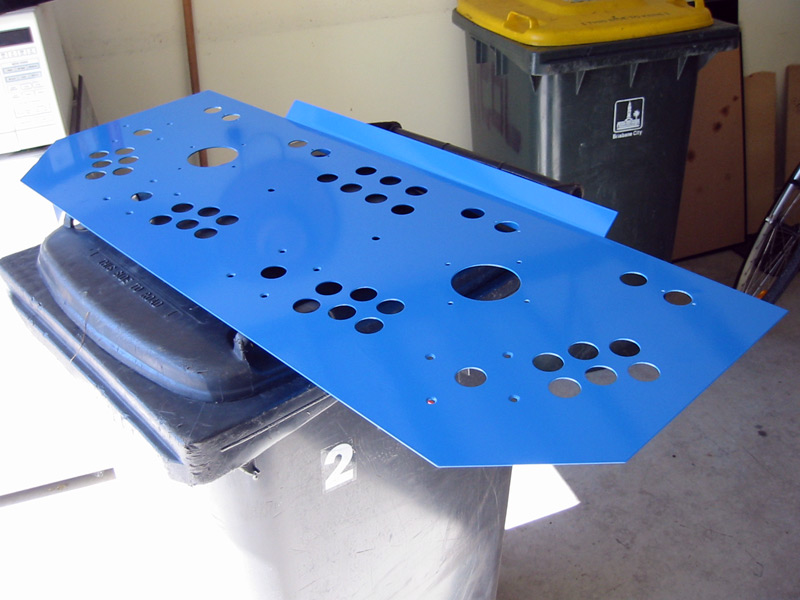
Steel panel has been delivered
September 2003
 |
Finally! My steel control panel has finally been constructed and I picked it up yesterday. Here it is, powder-coated Blaze Blue. The colour is lighter than the actual cabinet colour but I'm not too concerned. After getting three extra brackets constructed and welded on, the final cost was a fraction over A$300. Money well-spent I think, as it looks great. The finish is very reflective, and unfortunately you can see some minor rippling where the welds have been made. I was expecting this, though, so no big deal.
|
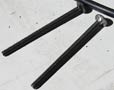 |
I started putting in all the controls and found 2 minor problems. Firstly, the bolts for the trackballs have a square cross-section between the thread and the circular head. If I'd made the holes in the panel square then they would have locked in nicely, but I didn't. Anyway, in the picture you can see an original bolt next to one I've "adjusted" with my dremel. Simple, and now they sit nicely on the panel surface.
The second problem was that one of the tiny holes for the locking lugs under the rectangular buttons didn't quite line up. Another quick bit of dremel work on one of the lugs and in it slots. These lugs are to stop people twisting the whole button around and I only had to shave off about a third of one of them so it still works as before. No problem.
|
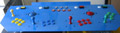 |
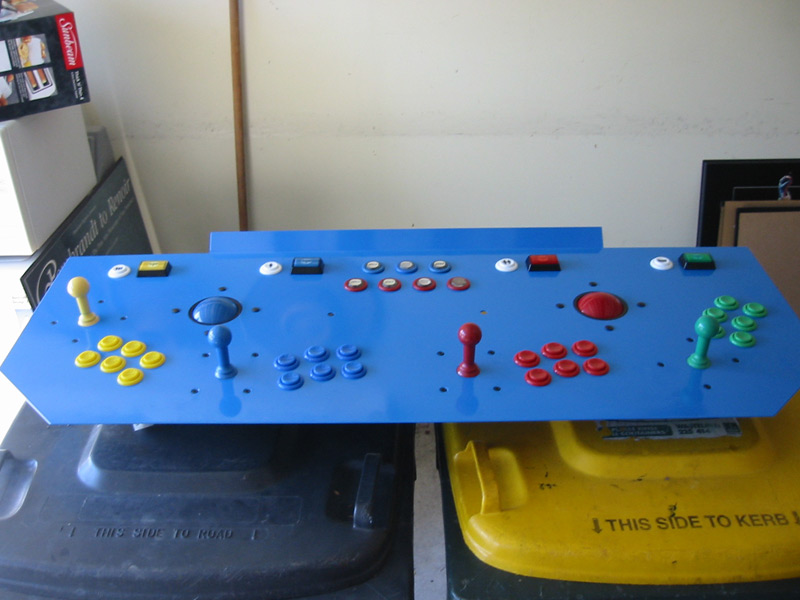
Here we have my new panel with the controls fitted in. I haven't fitted the spinners yet for two reasons. One, I have yet to order my second spinner and two, I had some difficulties with the installation. In hindsight, I should have put a spacer between the underside of the panel and the optics mounting bracket. At the moment the actual optical PCB won't line up with the spinner encoder wheel. Doh! I might have to drill a hole in the PCB to get it to fit but we'll see. I've emailed Oscar (the makers of the spinner) for any help and I'll see what happens. Once this is worked out I should have no problems fitting the second one.
|
Just thought I might post my AutoCAD files for the control panel, incase you're interested. I'm not too good with this program so don't expect anything too professional, but here they are anyway. There are 2 versions, this one is the 80k ZIPPED DWG FILE and this one is the 60k ZIPPED DXF. The only difference is the file format, just choose whichever one suits you the best. You might need the latest ZIP program to open these - I'm not sure.
When I was at the steel fabricators chatting to the estimator we were discussing getting my original silver joystick mounting screws powder-coated to match the panel. He suggested I buy some black allen screws instead and damn him if he wasn't right. They cost me 50 cents each or something and look great. They are countersunk into the panel so don't rub against your hand whilst playing. |
| |