|
Started cutting up timber for control box
November 2003
 |
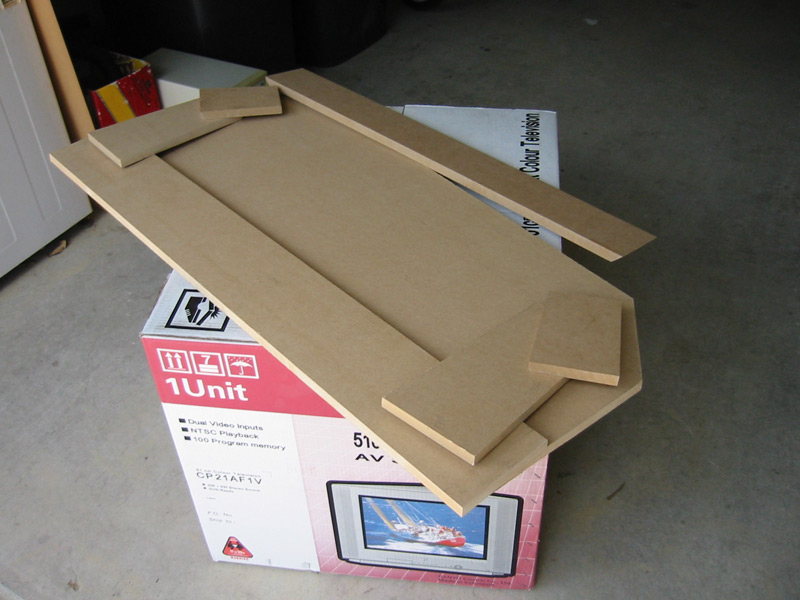
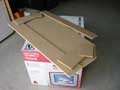
Got myself a power saw so have finally started working on the timber. Here you can see that I've upgraded my saw bench to a box for a 51cm TV. It was on special (the TV, not just the box) so I bought it to replace my old Amiga monitor I have used in my bedroom for the past few years.
Anyway, I've clamped a piece of timber for a guide to run the power saw along. Lots of noise and lots of dust. Remember kids - when working with MDF, make sure you wear a face mask as the particles are tiny and will nest in your lungs if given the chance. Once the nesting is complete, they will raise a cute family of cancers. During this cutting I found out that my power saw (and every one of them, I'm sure) is right-handed. As I use it with my left hand the exhaust port chucks a metric ass-load of crud over my right arm. Guess I need to put up with it or else use the saw like one of you dirty right-handed freaks.
|
 |
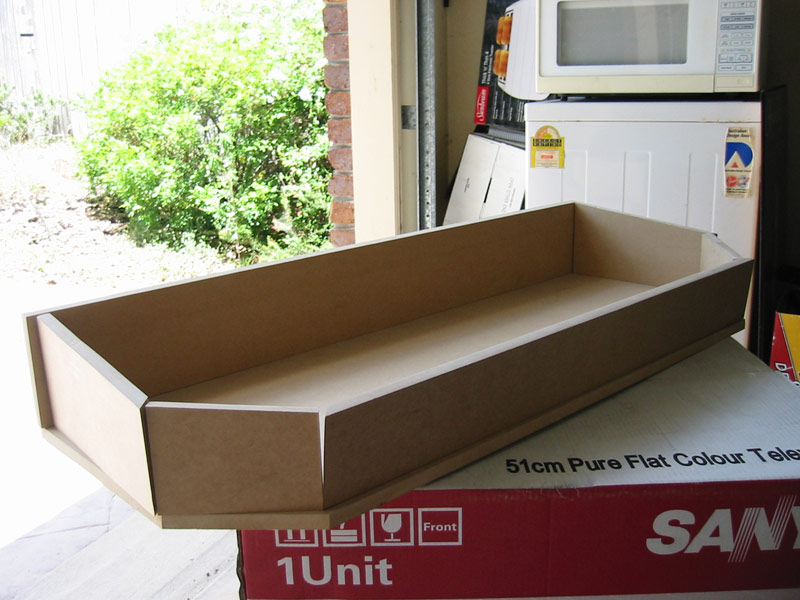
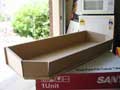
And here are the completed pieces. Some of them have been cut with the blade at an angle. A couple at 45 degrees and others at 6 degrees. The 6 degree cuts are for the metal panel to rest on top of, so that the whole upper surface is on a 6 degree slant towards the players. Should be more comfortable and usable that way. Will also hopefully stop people from putting their drinks on the panel where spillage might drip into the trackballs or something.
In order to sand the edges nice and smooth I had to go around a friend's place and use his vise, as my orbital sander is too tricky to use freehand - you end up with a rounded surface over a short cross-section like the thickness of the MDF. We clamped my pieces between two straight-edged pieces and sanded the whole lot together. Worked a treat. I also discovered one of my pieces was the wrong size and so had to recut another (actually, this has happened twice.) Check those measurements!
|
 |
And here's a bit of a test with the pieces sitting in position. The sanding mentioned above wasn't done at this point so they don't sit flush with one another. Once they are drilled, screwed and glued they should be fine. I'll have to do some sanding of the top surface once it's all together as that whole "6 degree" thing is impossible to get perfect via a power saw. Especially with the angled bits that need a 6 degree cut along a diagonal.
|
 |
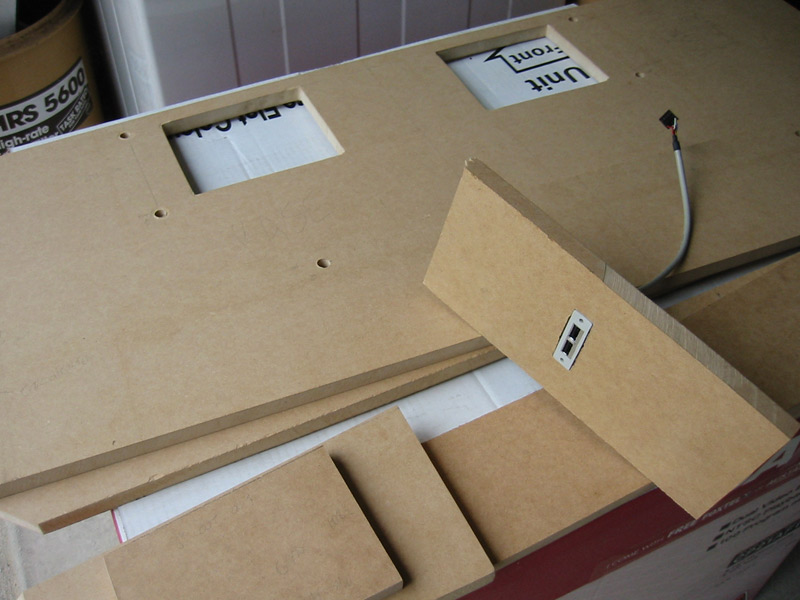
Here you can see I've cut out some pieces and drilled some holes. In the foreground you can also see a test I've done of fitting some USB ports.
The pieces I've cut out are access holes so you can reach in and release the catches that hold the top panel down (which will hinge from the front.) These holes can only be accessed if the coin door is open. The drilled holes are for bolts that will secure the whole control box to the cabinet - 4 in the base and 2 in the rear panel.
The USB connector is taken from a PC backplane that I found. I have 2 of these and will mount one on each side of the control box, allowing 4 USB devices to be plugged in. Not sure why, I just like the idea of having this kind of versatility should someone have a preferred controller they want to use. They will be flush-mounted in the side and painted black, fixed in place with glue/polyfiller/whatever. I decided to test out mounting this on some scrap MDF, as I've never really tried to cut a small hole like this before. I'll have to buy some chisels to do the real one, but using a screwdriver and a craft knife seemed to produce acceptable results.
|
| |