|
Control panel box is coming together
December 2003
 |
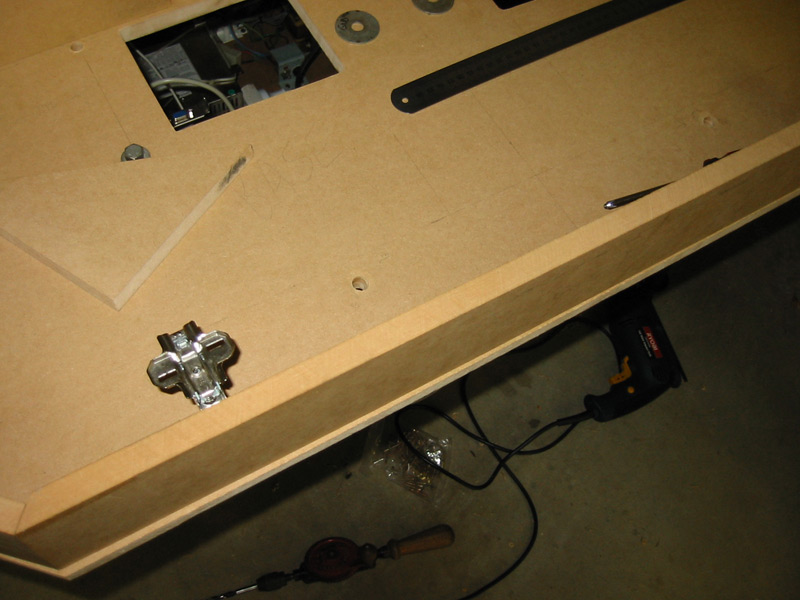
My housemate finally persuaded me to get on with it and start screwing the control panel box together. I was planning on glueing it as well, but I couldn't find the wood glue that I'm SURE I bought. Who knows, maybe I dreamt the whole thing. Anyway, a few tests on some scrap MDF proved that drilling first was an excellent idea and that the power drill was far too butch to actually put the screws in with.
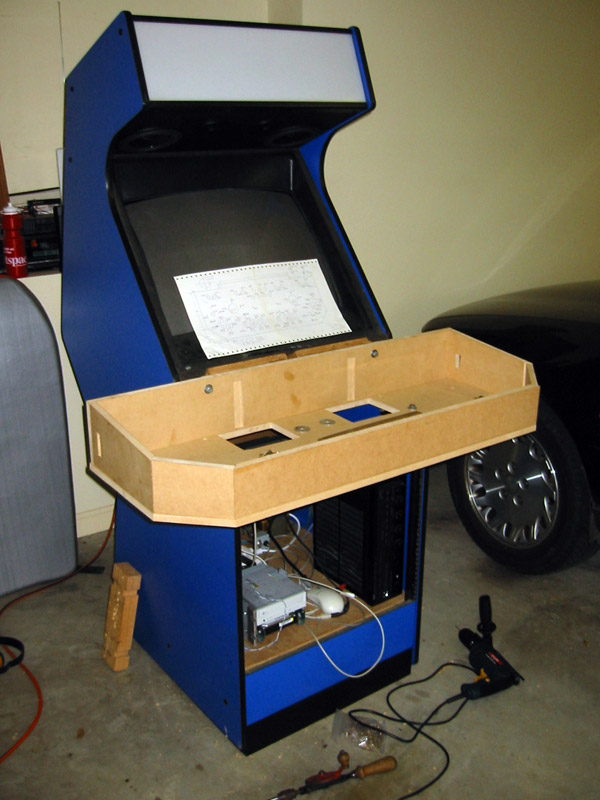
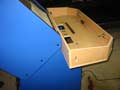
This image shows the base and rear pieces bolted to the cabinet. This makes a nice sturdy framwork to attach everything else to. I figure once it is all screwed together I can unbolt it to sand and paint.
|
 |
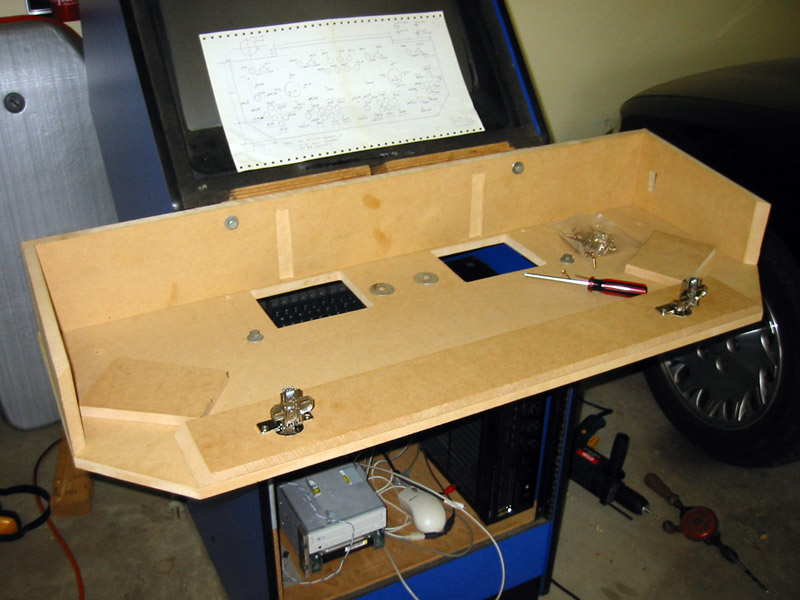
So, here we have the pieces all screwed together. I've still got to put more screws in along the back, but that means crawling in amongst the computer bits and I couldn't be bothered doing that right now. On the screen you can see my 3:1 scale drawing on the metal control panel surface. I'm using this to make sure everything lines up with the hinges and none of the controls are blocking the headphone socket holes or anything.
All the screws have been countersunk so I can sand each piece and paint it nice and smooth. I plan to put filler over the screw heads so they will be completely invisible once painted.
|
 |
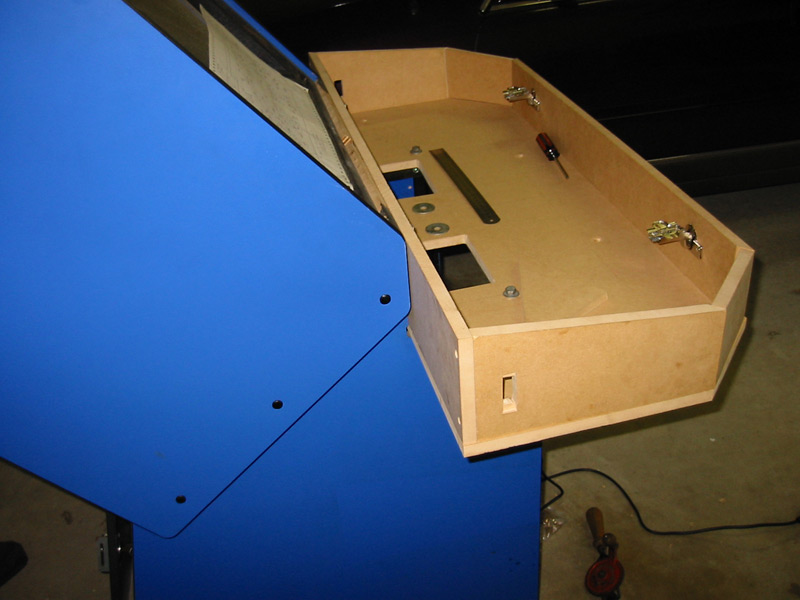
Another view of the control box. Here you can see the concealed hinges mounted in the front of the box. I need to chisel out a little bit of the timber so that the hinge will clear the upper surface but hopefully it will all work fine. This will eventually mean I can tilt the whole top of the panel up in case I need to service a bit of hardware or replace a switch or something. I'll eventually have a bar of some sort in the box that the top can rest on so I don't have to fear it dropping onto my head or something.
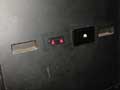
You can also see the holes for the side-mounted USB ports. Not sure if I'll ever use them but I thought they'd be a simple addition.
|
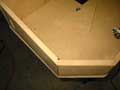 |
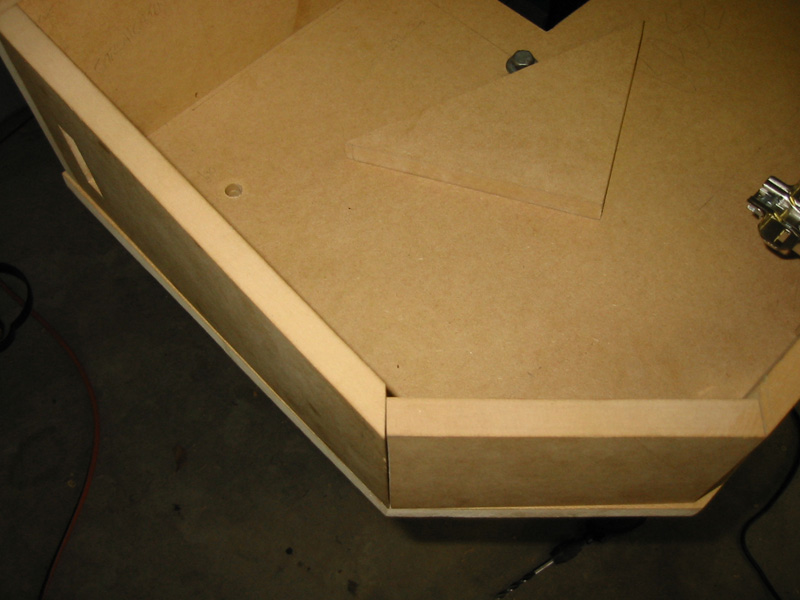
Just to show I'm a complete novice when it comes to timberwork, here are a couple of shots that show my poor woodworking skills. The base is a little wide towards the back (top of the screen) so I'll have to sand that back to make it even with the side piece. No problem.
The angled piece that meets the side panel (the one parallel to the bottom of the photo) is pretty dodgy, but plenty of sanding and polyfiller should see it looking alright. You can also see that the base needs to be sanded back along the front as well.
|
 |
More detail on the front piece. This front piece was a right pain in the ass, as my original piece was cut to the wrong width so I had to make another. Unfortunately, I'd run out of pieces that had a nice straight edge so this was cut with a power saw and didn't get as nice a sanding as I would have liked. Anyway, the bottom is slightly rounded but I'm sure some polyfiller and paint will render it invisible.
I'll probably cut an angled piece of timber to sit in the middle of the box and help support the centre of the metal top panel. Should take any flex out of it when you're banging away on the buttons.
|
 |
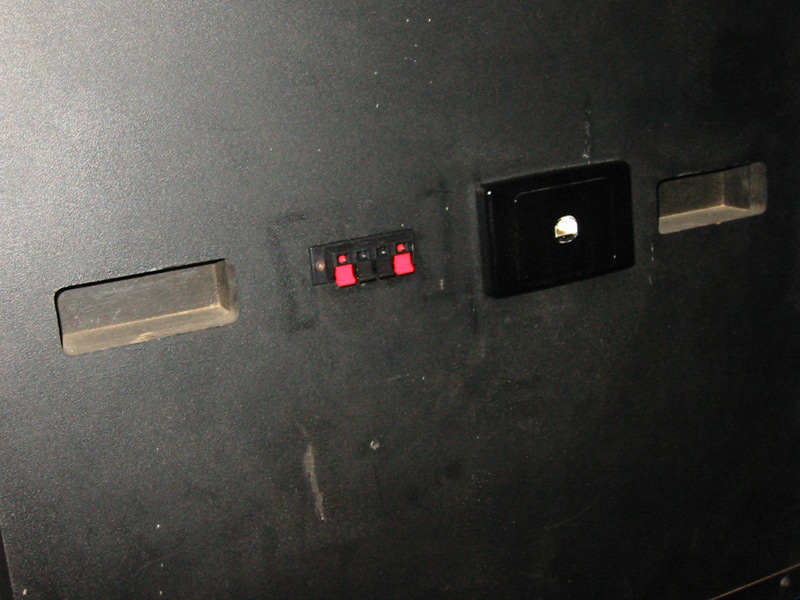
Got around to installing my external speaker connections, as you can see here. This is simply a header that connects to the "B" channel on my amplifier, which can be switched on the front of the amp. I could run a switch to the cabinet exterior, I guess, but that's a pretty low priority. It was suggested that I fit this thing lower to the ground, so that the speaker leads can be shorter. Personally, I don't care much about the extra 2 foot of lead or so, and much prefer not having to get on the floor to plug them in. The same logic is what dictated my network port being this high as well.
When I installed this thing I made the amatuer mistake of soldering the leads to the plug before mounting it in the cabinet. This meant that the leads wouldn't fit through each of the 4 holes I'd drilled (one for each of the L/R pairs.) Rather than desolder them and start again, I simply stripped the speaker wire pairs into single lines and threaded them through. No big deal.
|
| |