|
Control panel box is painted and cables made
January 2004
 |
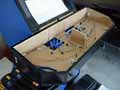
I finished filling in all the holes with polyfiller yesterday. Well, it has actually taken me a few days of filling, waiting for it to dry, sanding, and repeating the process to try and get as many holes filled as possible. The end result is a nice smooth finish that will hopefully take the black gloss paint really well.
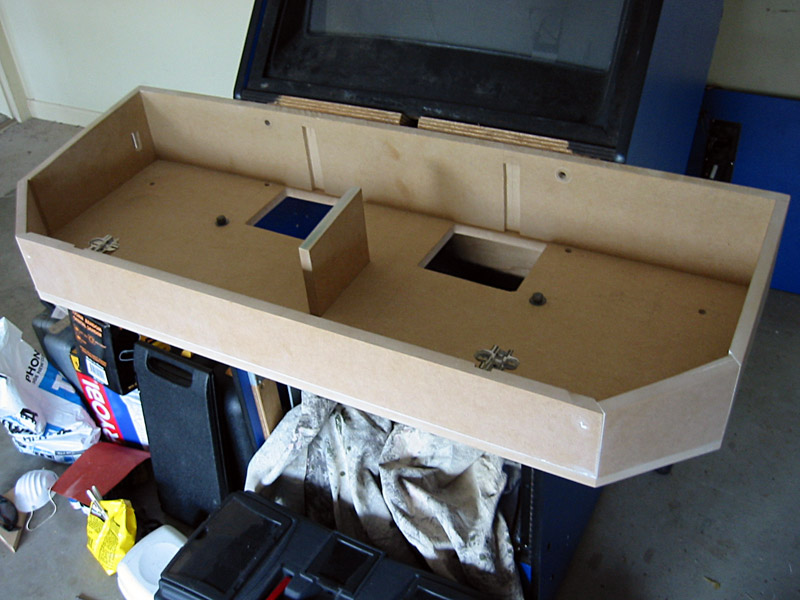
You can also see here that I've screwed in another piece of timber in the center. This will give the steel panel a bit of support in the middle for when people are banging away on the controls. Seemed like a good idea, anyway.
|
 |
As you can see I've also filled in all the counter-sunk screw-heads. This should give the finished product a good clean surface.
You can also see the 4 holes I've left for the headphone jacks. My preliminary testing for this showed that the holes were a perfect fit for the jacks, but when I drilled them in the actual box they turned out a fraction too large for a snug fit. Hopefully this is nothing that a great squirt of adhesive can't fix.
I hoped to install a cut-out switch so that you can turn off the main speakers and route audio to the headphones, but this is probably too tricky to bother with. My amplifier has selectable outputs, and I was hoping to simply move the selecter switch to the cabinet. Upon inspection, though, the switch is under a circuit board behind all this other stuff and I can't really justify taking it apart to get to. I'll just have to open the front cabinet door and press the switch from there. The other option is to wire a switch inline with the main speakers that cuts them out. This is probably easier and more likely to happen.
|
 |
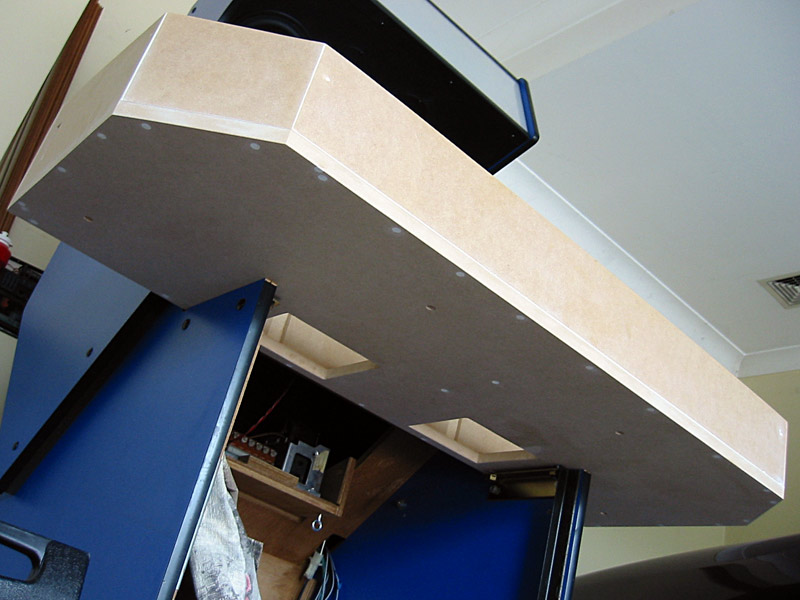
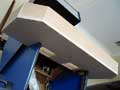
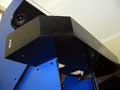
This is the control box after 2 coats of undercoat. I really wanted the MDF to suck this up so I thought 2 coats would be best. It's pretty thick, and has plenty of lovely brush strokes all through it. However, my orbital sander will make short work of that, I can tell you.
I have a feeling that the 2 external USB holes may now be too snug to accept the plugs, but we'll see. I'm sure I'll be able to touch that up later if it's an issue.
After I've sanded this to my satisfaction, I'll probably start on the electronics wiring. I'll leave the final coat of black gloss until the last thing, just so I don't worry about chipping it or something. Then again, it would probably be a bitch to sand with everything installed. Hmmm, some more thought is required on this I think.
|
 |
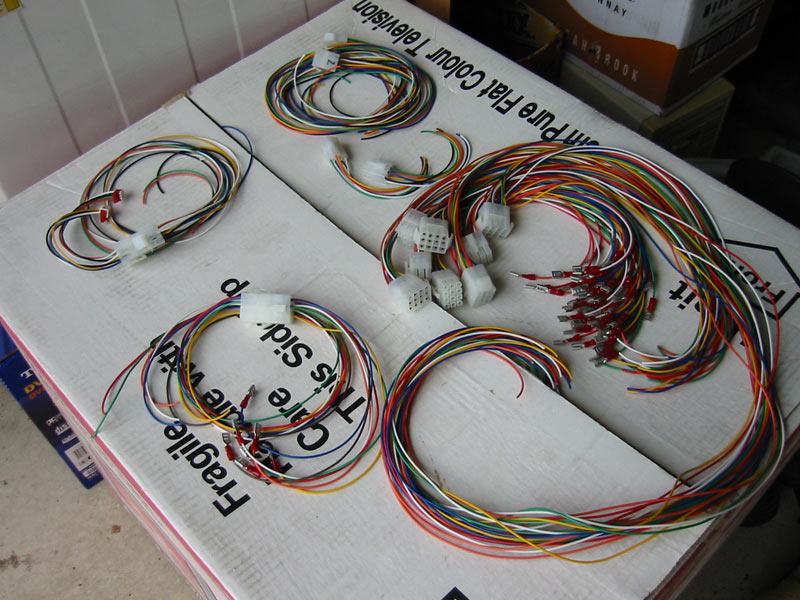
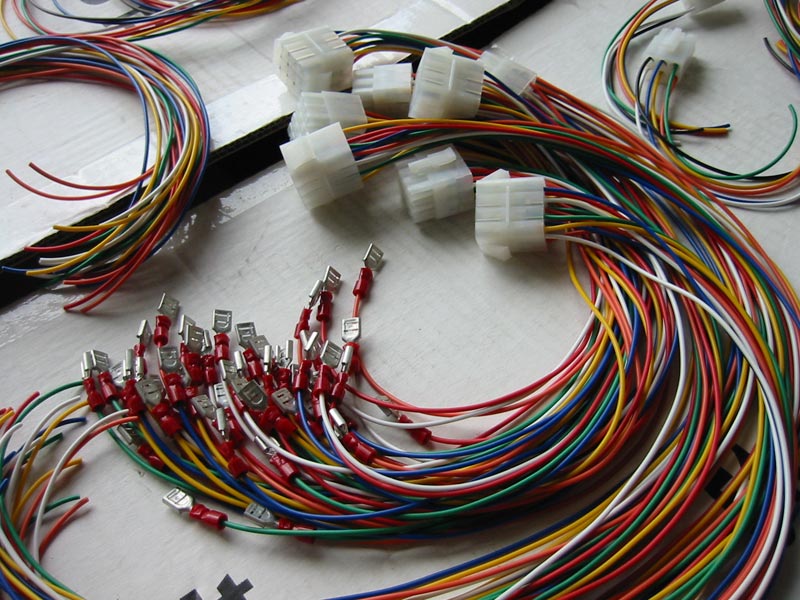
I spent the last week making up the cables that go from the microswitches on the controls to the decoder card sitting inside the main cabinet. Here you can see pretty much all of them except for the 2 USB cables that I finished only moments ago but can't be bothered photographing. Maybe later.
Clockwise from the 12-o'clock position we have cables for the trackballs (that's the main pile as well as the 2 very short runs just below them), the great long runs are for the main player joystick and 6 firebuttons (there are 8 plugs visible - 2 for each player), a cable for the 7 MAME-specific buttons and finally 2 more for the 2 spinners.
|
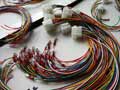 |
Here's a closeup of all the quick disconnects (QD) that I had to crimp onto the cables. Because they are made for a slightly larger gauge of wire it is a right pain in the ass. I'm pretty crap at doing it, too, so in the end I probably had to throw out 1 QD out of every 10 I put on. As I said, I'm blaming the thin wire.
Anyway, this is a pretty dull and repetitive job but thankfully I took them all into work and did them there. You see, my line of work requires me to be waiting for my computer to finish processing gigabytes of data so I had a little time left over to make the cables up. This method has to be way better than soldering all the lines.
|
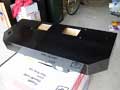 |
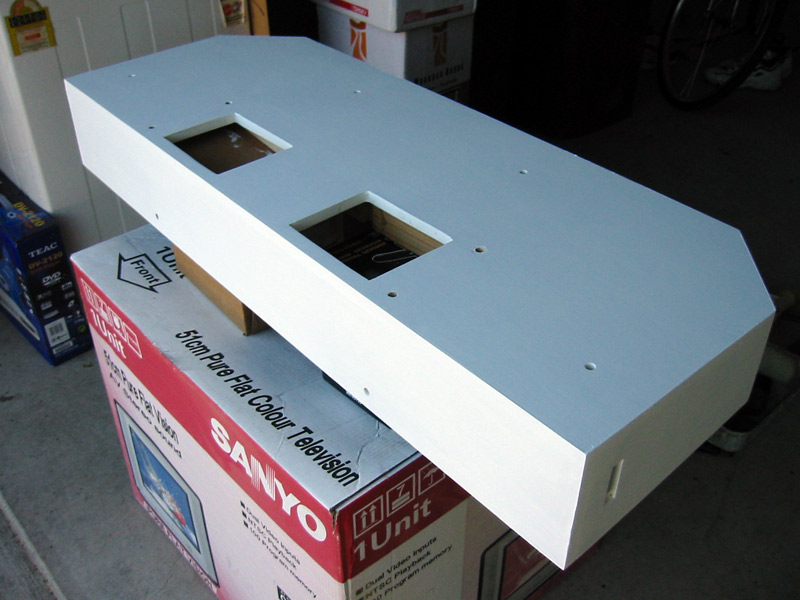
Here the first coat of glossy black enamel has been put on the control box. It is, as you can see, very shiny. I'm not sure if I like it or not but have sanded it back and put the second coat on this morning. The paint is very thick so it's almost impossible to not show up brush marks and runs but I'll wait and see what the final coat comes out like. If I don't like it I can always agressively sand it and start again with a flat black. Can I be bothered, though - that is the question.
An added bonus after all the painting is that my headphone sockets appear to fit more snugly into the holes I drilled. Hooray!
|
 |
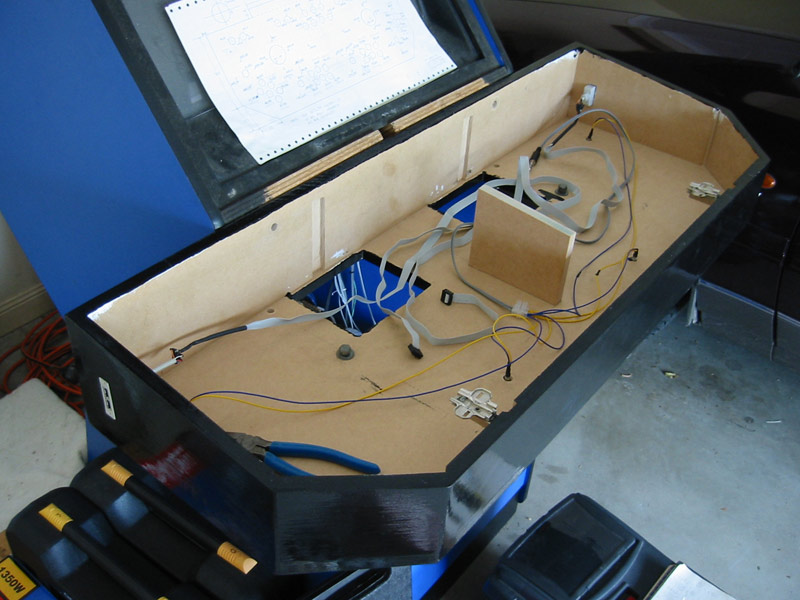
Finally got around to wiring up the USB ports and the headphone sockets. The blue and yellow wires are for the headphones and the ribbon cables are the USB ports. There are two USB ports per side so that should be ample for any controllers I care to plug in.
Here's a handy tip: motherboards have different pinouts for the USB headers. Consider yourself warned! These ports were originally a couple of backplane-mounted ones that would normally sit in place of one of the cards in the back of your PC. Now, these were scrounged from some that came with someone else's computer so they didn't suit my motherboard. I needed to consult my manual to get the correct pinouts and rewire the plug. No big deal - I had to do this anyway to lengthen the cables but if I hadn't then I would have most likely blown the USB controller on my motherboard!
The USB sockets are a good tight fit in the cabinet, and a touch of hot-melt glue on the back should make sure they don't move around when peripherals are removed. They can't be pushed in any further as the holes I cut have a lip on them to prevent it.
|
 |
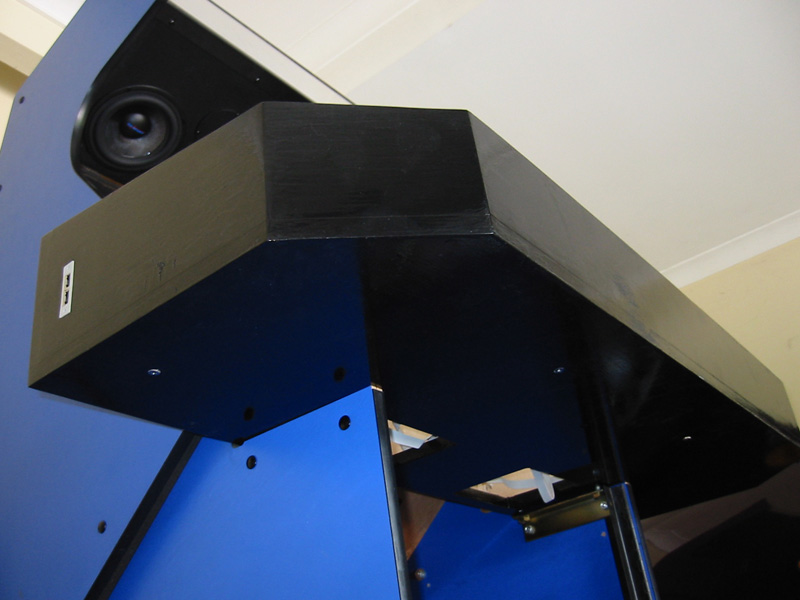
And here you can see the underside and just barely make out the headphone sockets. As bought, they come with a black plastic shroud. When I drilled the holes they were too small for the shroud but just a fraction too large for the actual socket itself - it would just drop right through the hole. However, after some undercoat and 2 layers of enamel they push in quite snugly. I'm hoping that some Liquid Nails adhesive should hold them in place nicely.
I'm also a little disappointed with the enamel finish, it is patchy in places and doesn't hide the timber seams as well as I'd hoped. Still, it's on there now and I can't see myself changing it. Perhaps a polish will bring it up a little better. If I was doing it again I'd just go with a flat black and then spray it with a glossy coating, like I did with the base that I replaced at the very start of the project.
Hmm, I must also remember to blacken out the little bit of timber peeking out from above the t-moulding there.
|
| |